IoT Firmware Analysis: What TP-Link's Omada ZTP Patch Reveals About the Attack Surface You're Missing

TP-Link quietly shipped patches for 15 vulnerabilities in the zero-touch provisioning (ZTP) mechanism of its Omada network devices this week. Chained with previously disclosed flaws, several of them lead to unauthenticated remote code execution on enterprise gear that shows up in branch offices, MSP fleets, and small-datacenter racks all over the world. If you do IoT firmware analysis for a living — or you’re trying to — this is worth more than a headline scroll. It’s a case study in the exact attack surface that surface-level pen testing walks past every day.
Because here’s the uncomfortable truth: nothing in the standard IoT pen tester’s toolbox catches these bugs. Not Burp. Not Nmap. Not the vendor’s web UI checklist. ZTP lives below the web interface, in the provisioning logic baked into firmware — the boot-time code that decides how a factory-fresh device phones home, who it trusts, and what it will execute on someone else’s authority. If your methodology stops at the login page, you’ll miss this entire class of bugs. This post walks through what ZTP actually is, why it’s a rich target, and the practitioner workflow — firmware extraction, unpacking, reversing — that would have surfaced flaws like TP-Link’s before the vendor did.
What Zero-Touch Provisioning Is — and Why Attackers Love It
Zero-touch provisioning is exactly what it sounds like: a device boots for the first time, reaches out over the network, discovers its controller, downloads its configuration, and joins production without a human touching a serial cable. Cisco has it. Aruba has it. Juniper has it. TP-Link’s Omada line has it. It’s the deployment model that makes fleet-scale networking economically viable.
From an attacker’s perspective, ZTP is a gift. It bundles together most of the mistakes that show up when engineers write “this is going to run in a trusted environment” code:
- Certificate validation shortcuts. First-boot devices don’t yet have a trust anchor, so ZTP often ships with permissive TLS, pinned self-signed certs, or — worst case — no validation at all on the controller discovery path.
- Hardcoded credentials or keys. Bootstrapping needs to authenticate something, and the shortcut is a shared secret compiled into firmware. Extract the firmware once, own the fleet.
- Unauthenticated endpoints. The provisioning listener has to accept configuration from a controller it hasn’t met yet. That means at least one endpoint on a fresh device accepts input before any user has logged in.
- Signed-update assumptions. Provisioning often pulls a config bundle or firmware blob and applies it. If the signature check is weak, absent, or bypassable via path traversal in the unpack routine, you have RCE.
Every one of those categories is present somewhere in the TP-Link Omada ZTP cluster. The BleepingComputer writeup summarizes the chain; the vendor advisory has the CVE-level specifics. What matters for practitioners is the pattern, because the pattern repeats on every vendor that ships ZTP.
The TP-Link Omada Flaws as a Firmware-Level Case Study
The Omada bugs aren’t a web application problem. They’re a firmware problem that expresses itself over the network. The provisioning daemon binary — the thing that actually parses controller discovery traffic, validates (or fails to validate) certificates, and unpacks configuration payloads — lives inside the firmware image. You cannot audit it from outside the device. You cannot fuzz it meaningfully without first understanding what it expects. And you cannot find the next set of bugs by reading the CVE — you find them by opening the binary that shipped the flaw.
This is the difference between reading about vulnerabilities and discovering them. Reading a CVE tells you what someone else found. Reversing the binary tells you what else is in there. TP-Link patched 15. Nobody with a straight face believes that’s the final count in a codebase like that. The 16th is sitting in the same binary, waiting for the next researcher to load it into Ghidra.
We’ve written before about how firmware analysis has to reach past userland into kernel-lock-in behaviors, and the Cisco SD-WAN firmware CVE breakdown covered a very similar pattern: a provisioning-adjacent bug that only reveals itself when you look at the compiled code, not the exposed API. The Omada disclosure fits the same shape. If you’re serious about IoT firmware analysis, TP-Link’s advisory is a homework assignment, not a news item.
Practitioner Workflow: From Firmware to Provisioning Logic
Here’s the workflow that produces findings like this. Not theory — the same sequence practitioners run in a live lab.
1. Acquire the firmware
Three routes, in rough order of preference:
- Vendor download. Sometimes the OTA image is on the support portal, sometimes it isn’t. Grab it while you can; vendors quietly pull older versions after a disclosure.
- OTA intercept. Stand up a controlled network, let the device call home, and capture the update transaction. This is also how you discover if the update channel is authenticated at all.
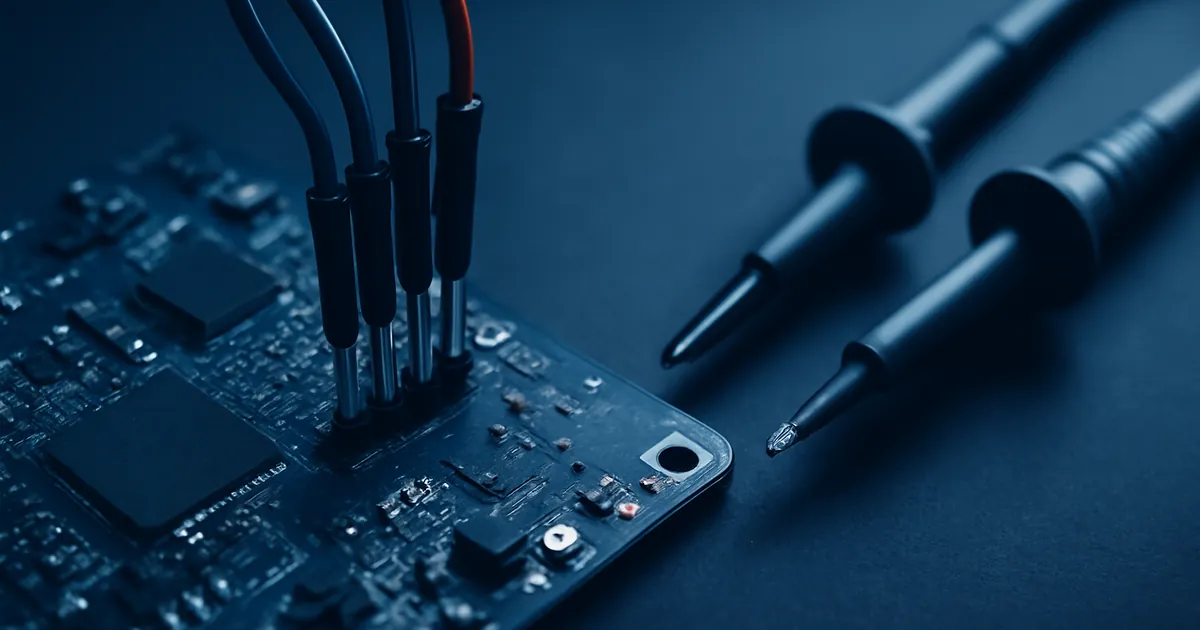
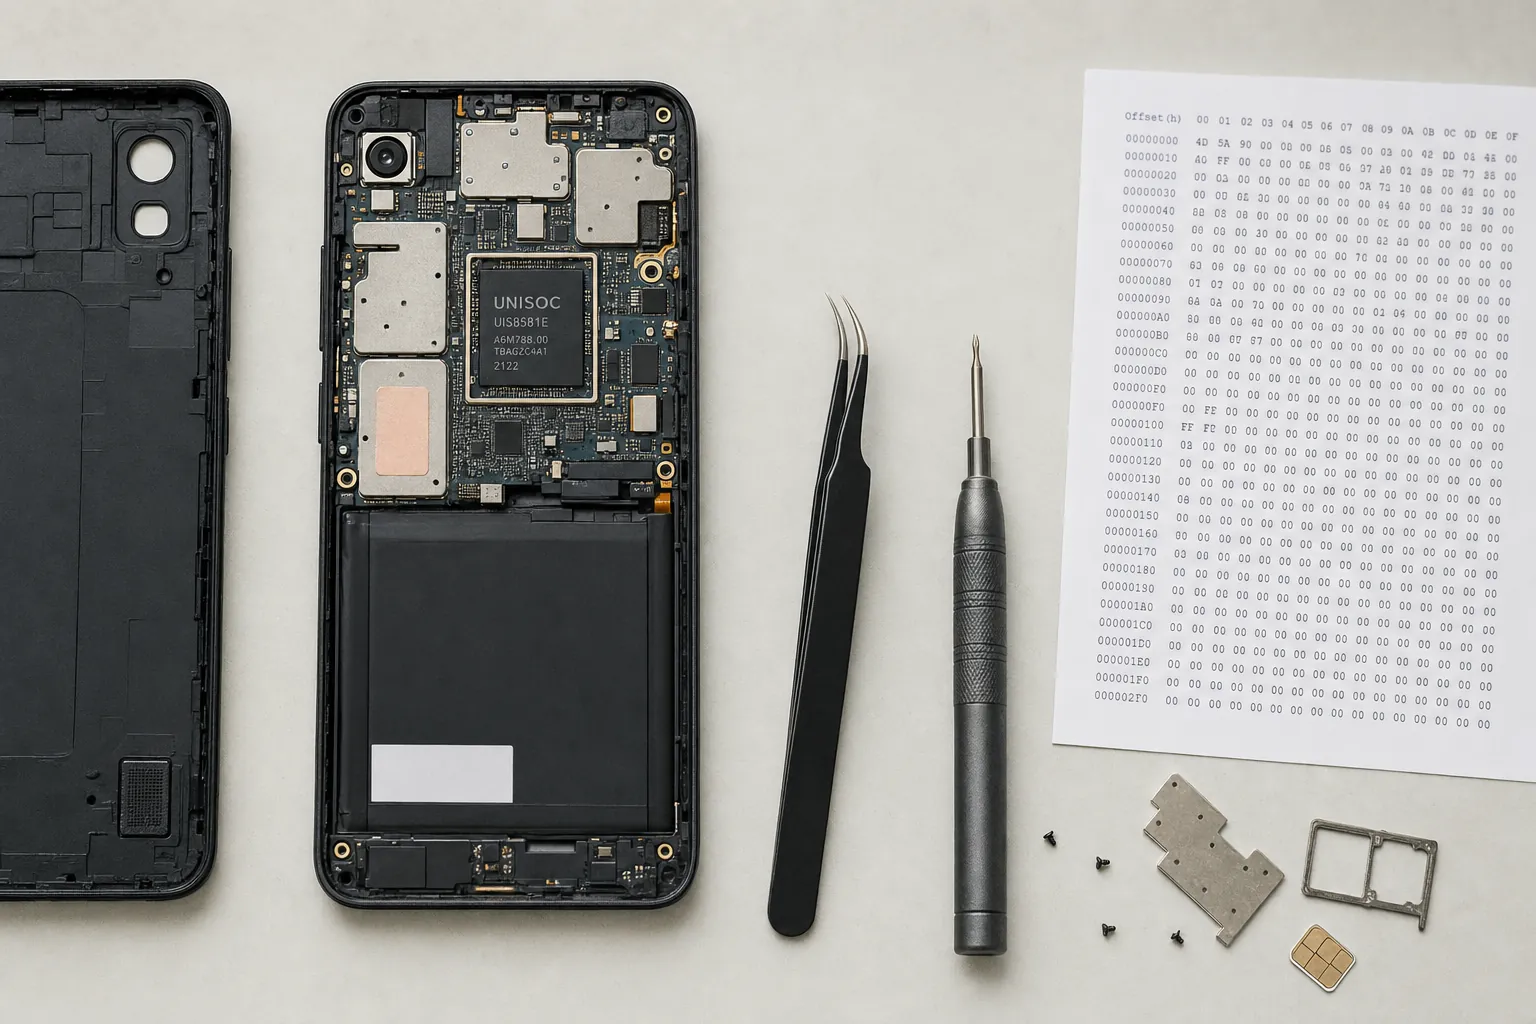
- Hardware extraction. UART for a shell if the port is live and unlocked. If not, SPI flash dump straight off the chip — clip a SOIC-8, read with a flasher like a CH341A or a Bus Pirate, walk away with a byte-for-byte image. This is where our free intro to IoT hacking starts people who’ve never soldered before.
2. Unpack the image
Point binwalk at it first for a fast structural read. When binwalk gets confused by proprietary containers (and on TP-Link gear specifically, it often does), fall back to unblob, which handles more formats and recurses cleanly. You want the root filesystem, the kernel, and any signed-update metadata separated out and mounted.
3. Hunt the provisioning binary
Once you have the filesystem, don’t grep blindly. Look at the init sequence — /etc/init.d, /etc/rcS, systemd units if present. What runs at boot, before the user is provisioned? That’s your candidate list. Then strings those binaries for ztp, provision, bootstrap, discover, controller-related hostnames, and any certificate paths hardcoded into the binary. The provisioning daemon usually announces itself.
4. Reverse and validate
Load the candidate into Ghidra or IDA. Trace the network-facing entry points. Follow the parser. Ask: where does attacker-controlled data become a filesystem path, a shell argument, an execve, or an unchecked memcpy? Then confirm in a live lab — build the malicious input, fire it at a real device on an isolated network, and watch the shell pop. This is the step most researchers skip and most vendors bet on you skipping.
Why Surface-Level IoT Pen Testing Misses These Bugs
If you’ve been doing IoT engagements and your report always ends with weak passwords, exposed admin panels, and firmware update endpoints that “should require authentication,” you’re doing the surface. That’s not an insult — it’s a description of the tooling floor. Automated scanners and web-first methodologies find web-first problems.
ZTP-class flaws sit below that floor. They don’t answer to Burp. They don’t show up in a Nessus scan. They exist in the compiled provisioning logic, and the only reliable way to find them is to extract the firmware, unpack it, and read the code. The skills required — hardware extraction, filesystem carving, binary reversing, exploit validation on live devices — are the same skills that separate a pen tester who reports known-CVE hits from a researcher who ships their own advisories.
The industry gap here is real and it’s widening. Enterprise IoT deployments are exploding; the pool of practitioners who can actually audit firmware is not. If you’re on the pen-tester career track and looking for where to specialize, this is it. Vendors are shipping millions of ZTP-enabled devices and hoping nobody looks past the web UI. Some of you should look.
Ready to Do This Work Yourself?
Reading a walkthrough is not the same as running the workflow. Extracting your first SPI flash, opening your first firmware image, and getting your first shell on a device you own — that’s where this skill lives.
The IoT Hacking Deep Dive is built for the practitioner who’s ready to move past surface-level IoT pen testing. You’ll work with real devices, not sandbox images. You’ll dump firmware from live hardware, unpack proprietary containers, reverse provisioning binaries in Ghidra, and prove exploits on a live lab bench — the exact workflow that produces disclosures like the TP-Link Omada cluster. If you want to be the person who finds the 16th bug in a codebase, not the person who reads about the first 15, this is where you build that skill. See the full course outline and enroll here.